- Home
- :
- All Communities
- :
- Products
- :
- Imagery and Remote Sensing
- :
- Imagery Questions
- :
- Re: Mosaic Dataset Creation Problems
- Subscribe to RSS Feed
- Mark Topic as New
- Mark Topic as Read
- Float this Topic for Current User
- Bookmark
- Subscribe
- Mute
- Printer Friendly Page
- Mark as New
- Bookmark
- Subscribe
- Mute
- Subscribe to RSS Feed
- Permalink
- Report Inappropriate Content
Hello,
Our aerial contractor supplied me with a set of IMAGINE Image tiles that I would like to mosaic.
Under a file geodatabase, I right clicked, New, Mosaic Dataset. Supplied a name, added the coordinate system of the image files, defined the pixel type as 16 bit signed, and the number of bands as 1 corresponding to the properties of the tiles.
I then right-clicked the mosaic dataset and chose Add Rasters. Raster Type was left to the default of Raster Dataset, under Input Data I selected Dataset, went to the directory where all my image files are stored, highlighted them all and added them, under Advanced Input Data Options I supplied the coordinate system and to Allow Duplicates, under Raster Processing I enabled Calculate Statistics and Build Raster Pyramids, and finally under Mosaic Post-processing I enabled Update Overviews. I then ran the tool.
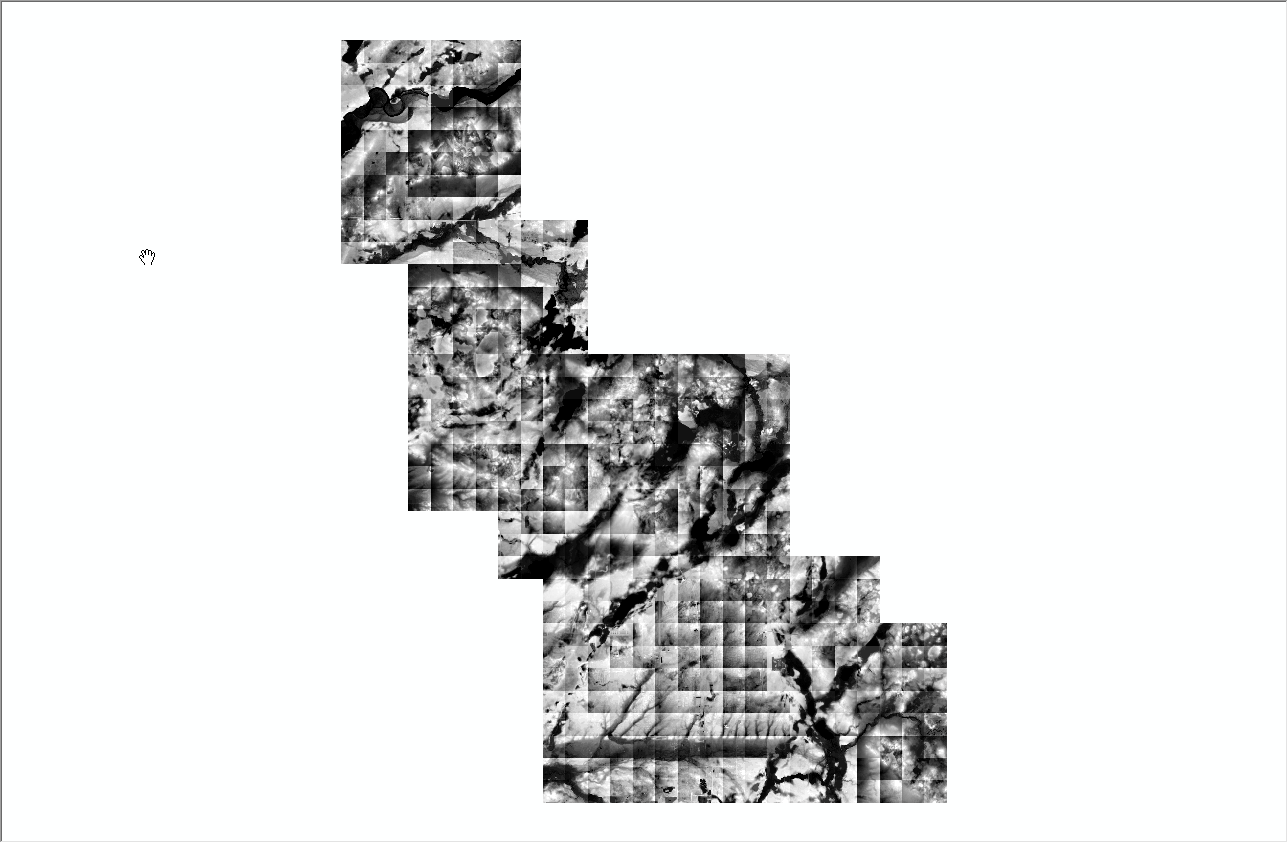
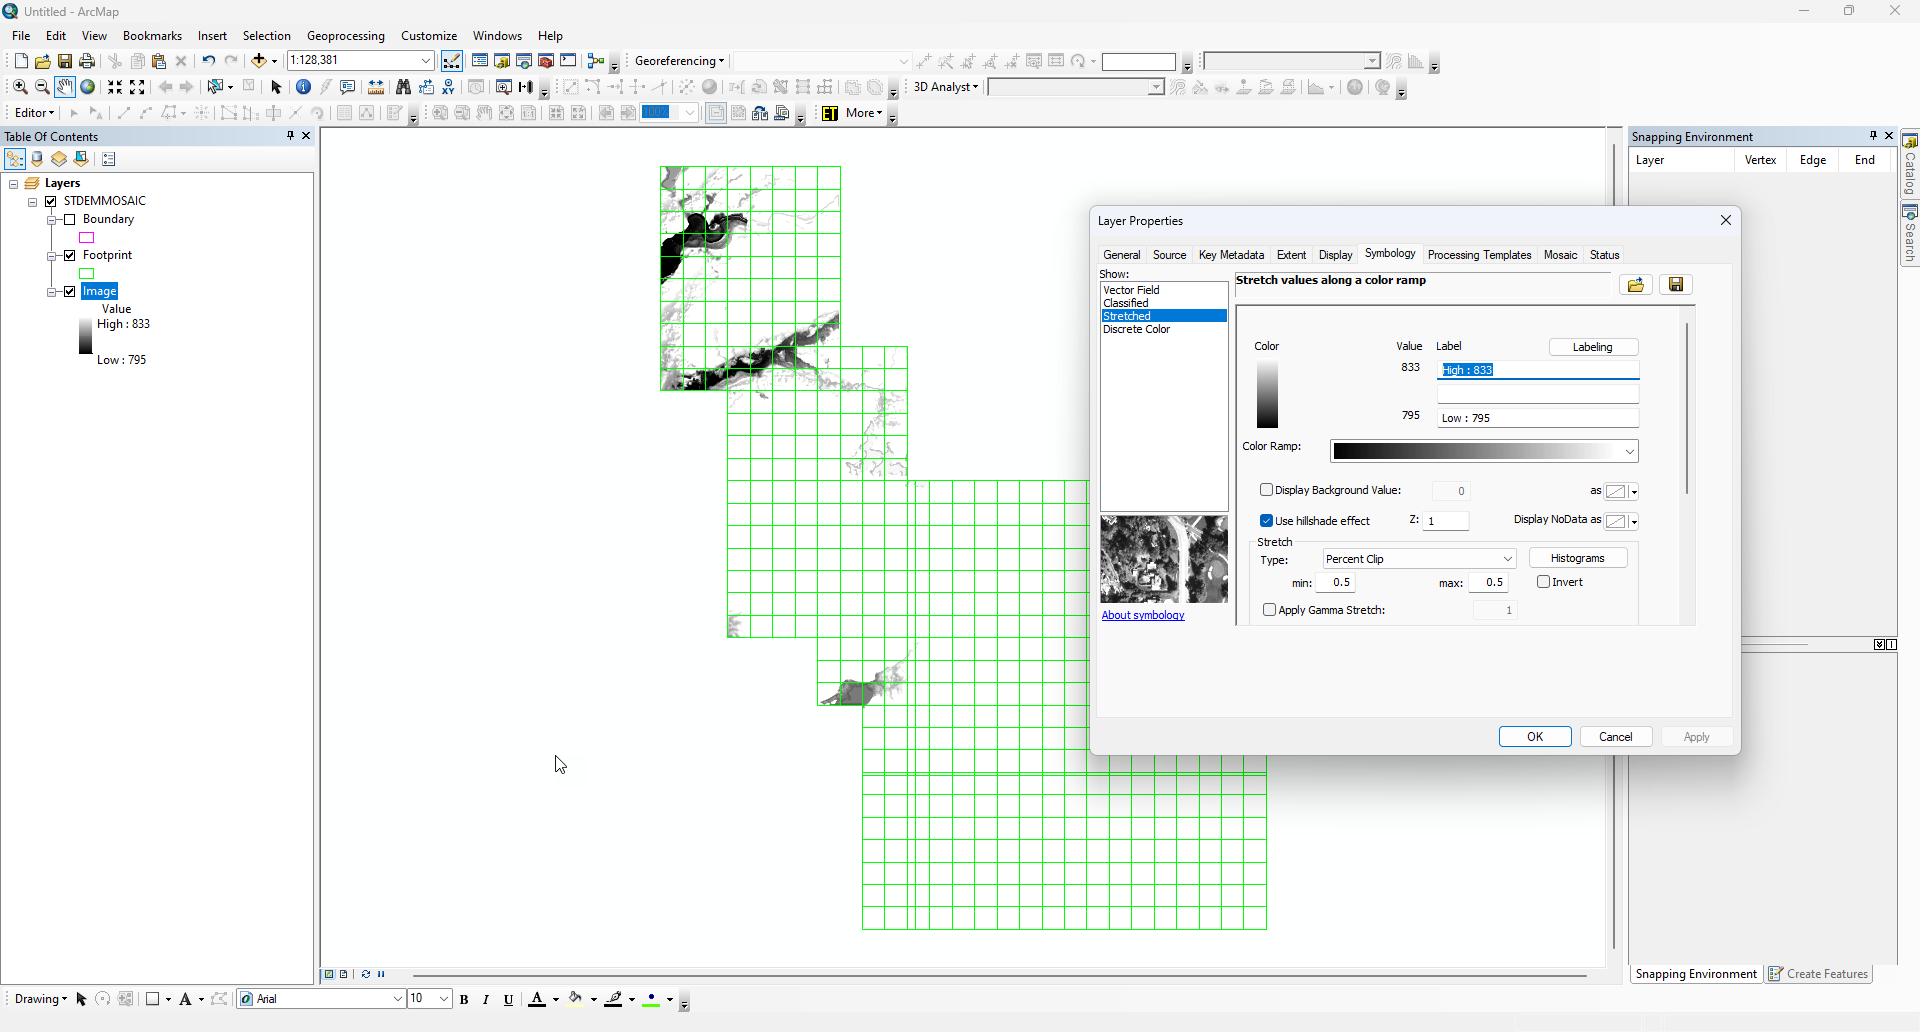
The file attached to this posting entitled "ActualTilesEntireArea.png" are how the tiles appear in ArcMap. The other file attached to this posting entitled "PostAddRaster.png" is the end product after Add Raster. I was assuming after Add Raster that I would see something similar to my original but that is not the case.
No error messages appear but I am stumped. I even tried leaving "Update Overviews" unchecked as it is by default. Then everything goes blank clear through Building Footprints, Generating Seamlines, and Building Overviews.
Can someone please assist me?
Thank you.
JD
Solved! Go to Solution.
Accepted Solutions
- Mark as New
- Bookmark
- Subscribe
- Mute
- Subscribe to RSS Feed
- Permalink
- Report Inappropriate Content
- Mark as New
- Bookmark
- Subscribe
- Mute
- Subscribe to RSS Feed
- Permalink
- Report Inappropriate Content
The PostAddRaster.png is likely correct. The data is floating point elevation data and what you are seeing is a single mosaic of the whole areas rendered with the lower parts in the North dark and then I assume some higher plain are to the south as white. If you for example apply a hill shade on the image I expect you will see the detail. Alternatively turn on DRA and zoom into different areas The ActualTilesEntireArea.png is showing each tiles with a default render being applied to each tile individually.
- Mark as New
- Bookmark
- Subscribe
- Mute
- Subscribe to RSS Feed
- Permalink
- Report Inappropriate Content
- Mark as New
- Bookmark
- Subscribe
- Mute
- Subscribe to RSS Feed
- Permalink
- Report Inappropriate Content
Suggest you load add some of the source data, zoom in and compare the values. Are their differences? Also look to use the hillshade function to better symbolize. Also you will find more tools, better visualization etc in ArcGIS Pro.
- Mark as New
- Bookmark
- Subscribe
- Mute
- Subscribe to RSS Feed
- Permalink
- Report Inappropriate Content
- Mark as New
- Bookmark
- Subscribe
- Mute
- Subscribe to RSS Feed
- Permalink
- Report Inappropriate Content
Yes, It appears from afar to be correct
- Mark as New
- Bookmark
- Subscribe
- Mute
- Subscribe to RSS Feed
- Permalink
- Report Inappropriate Content
Thank you, Peter.